ikea shelf hack

IKEA shelf Makeover: White and Gold

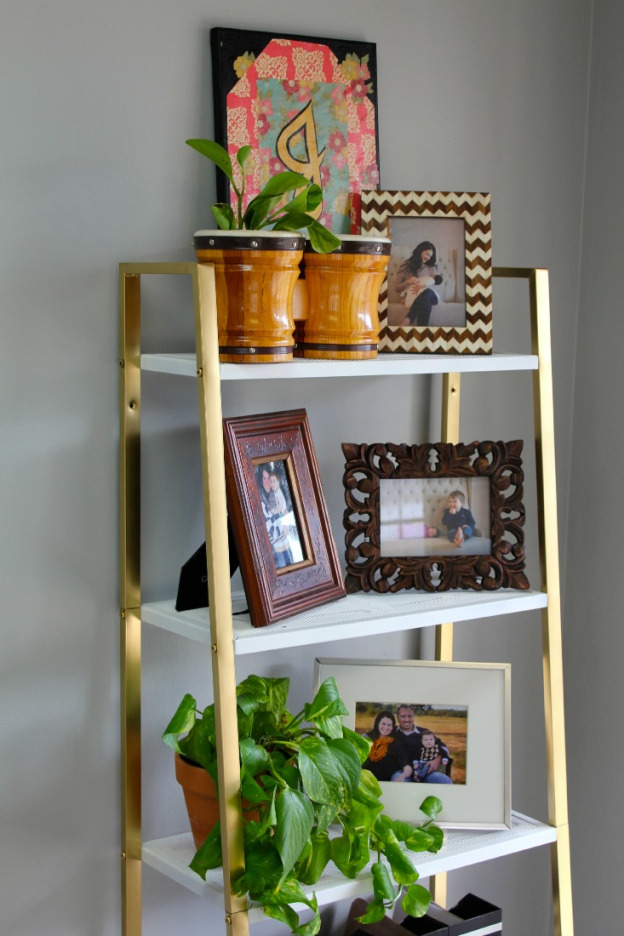
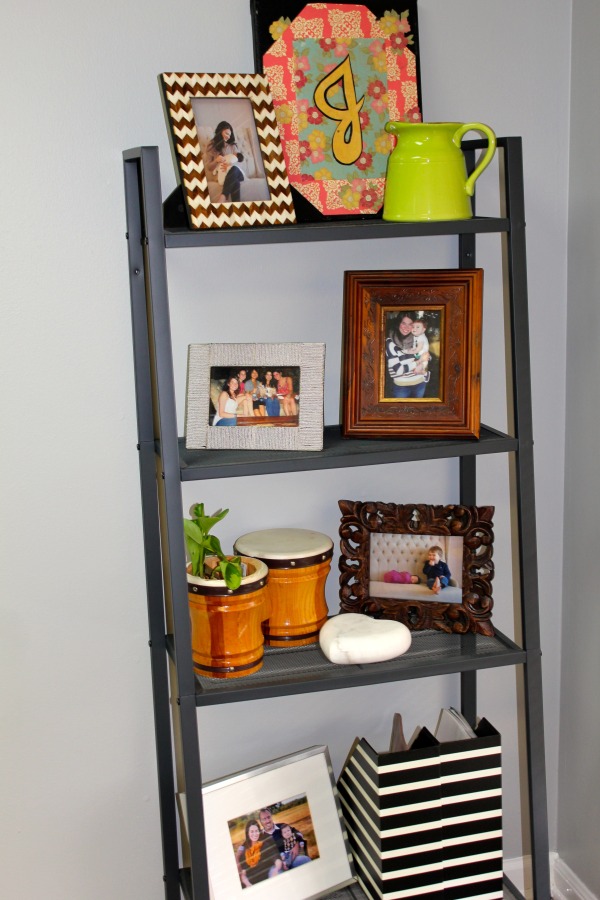
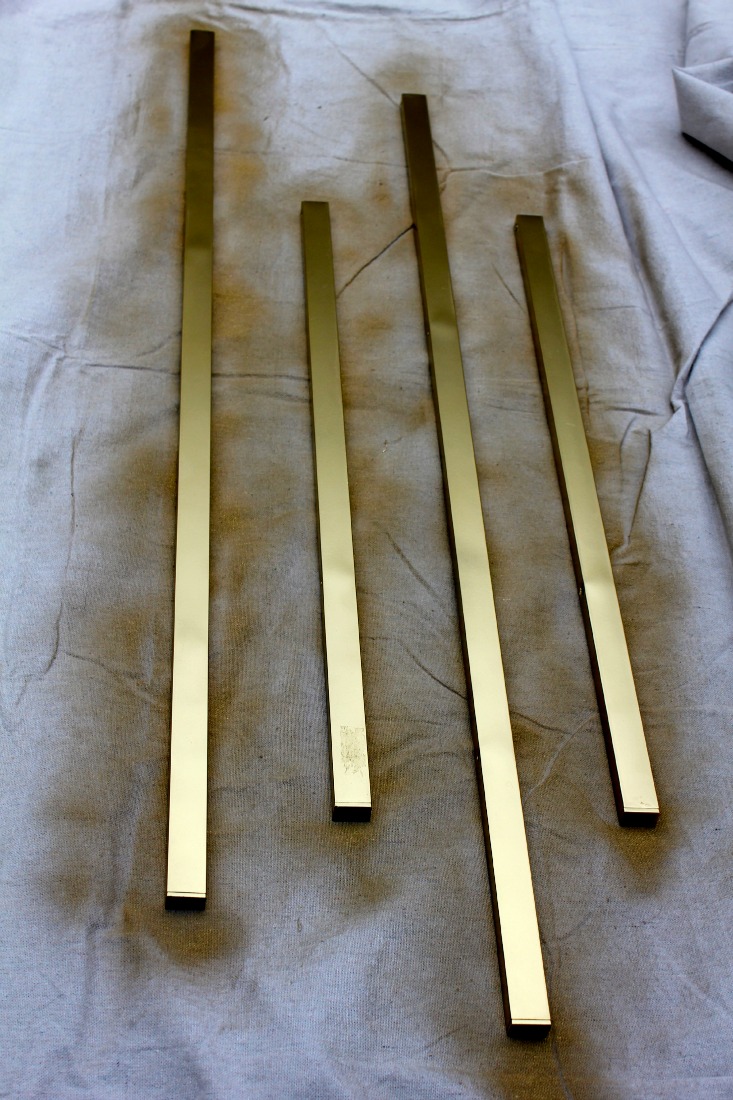
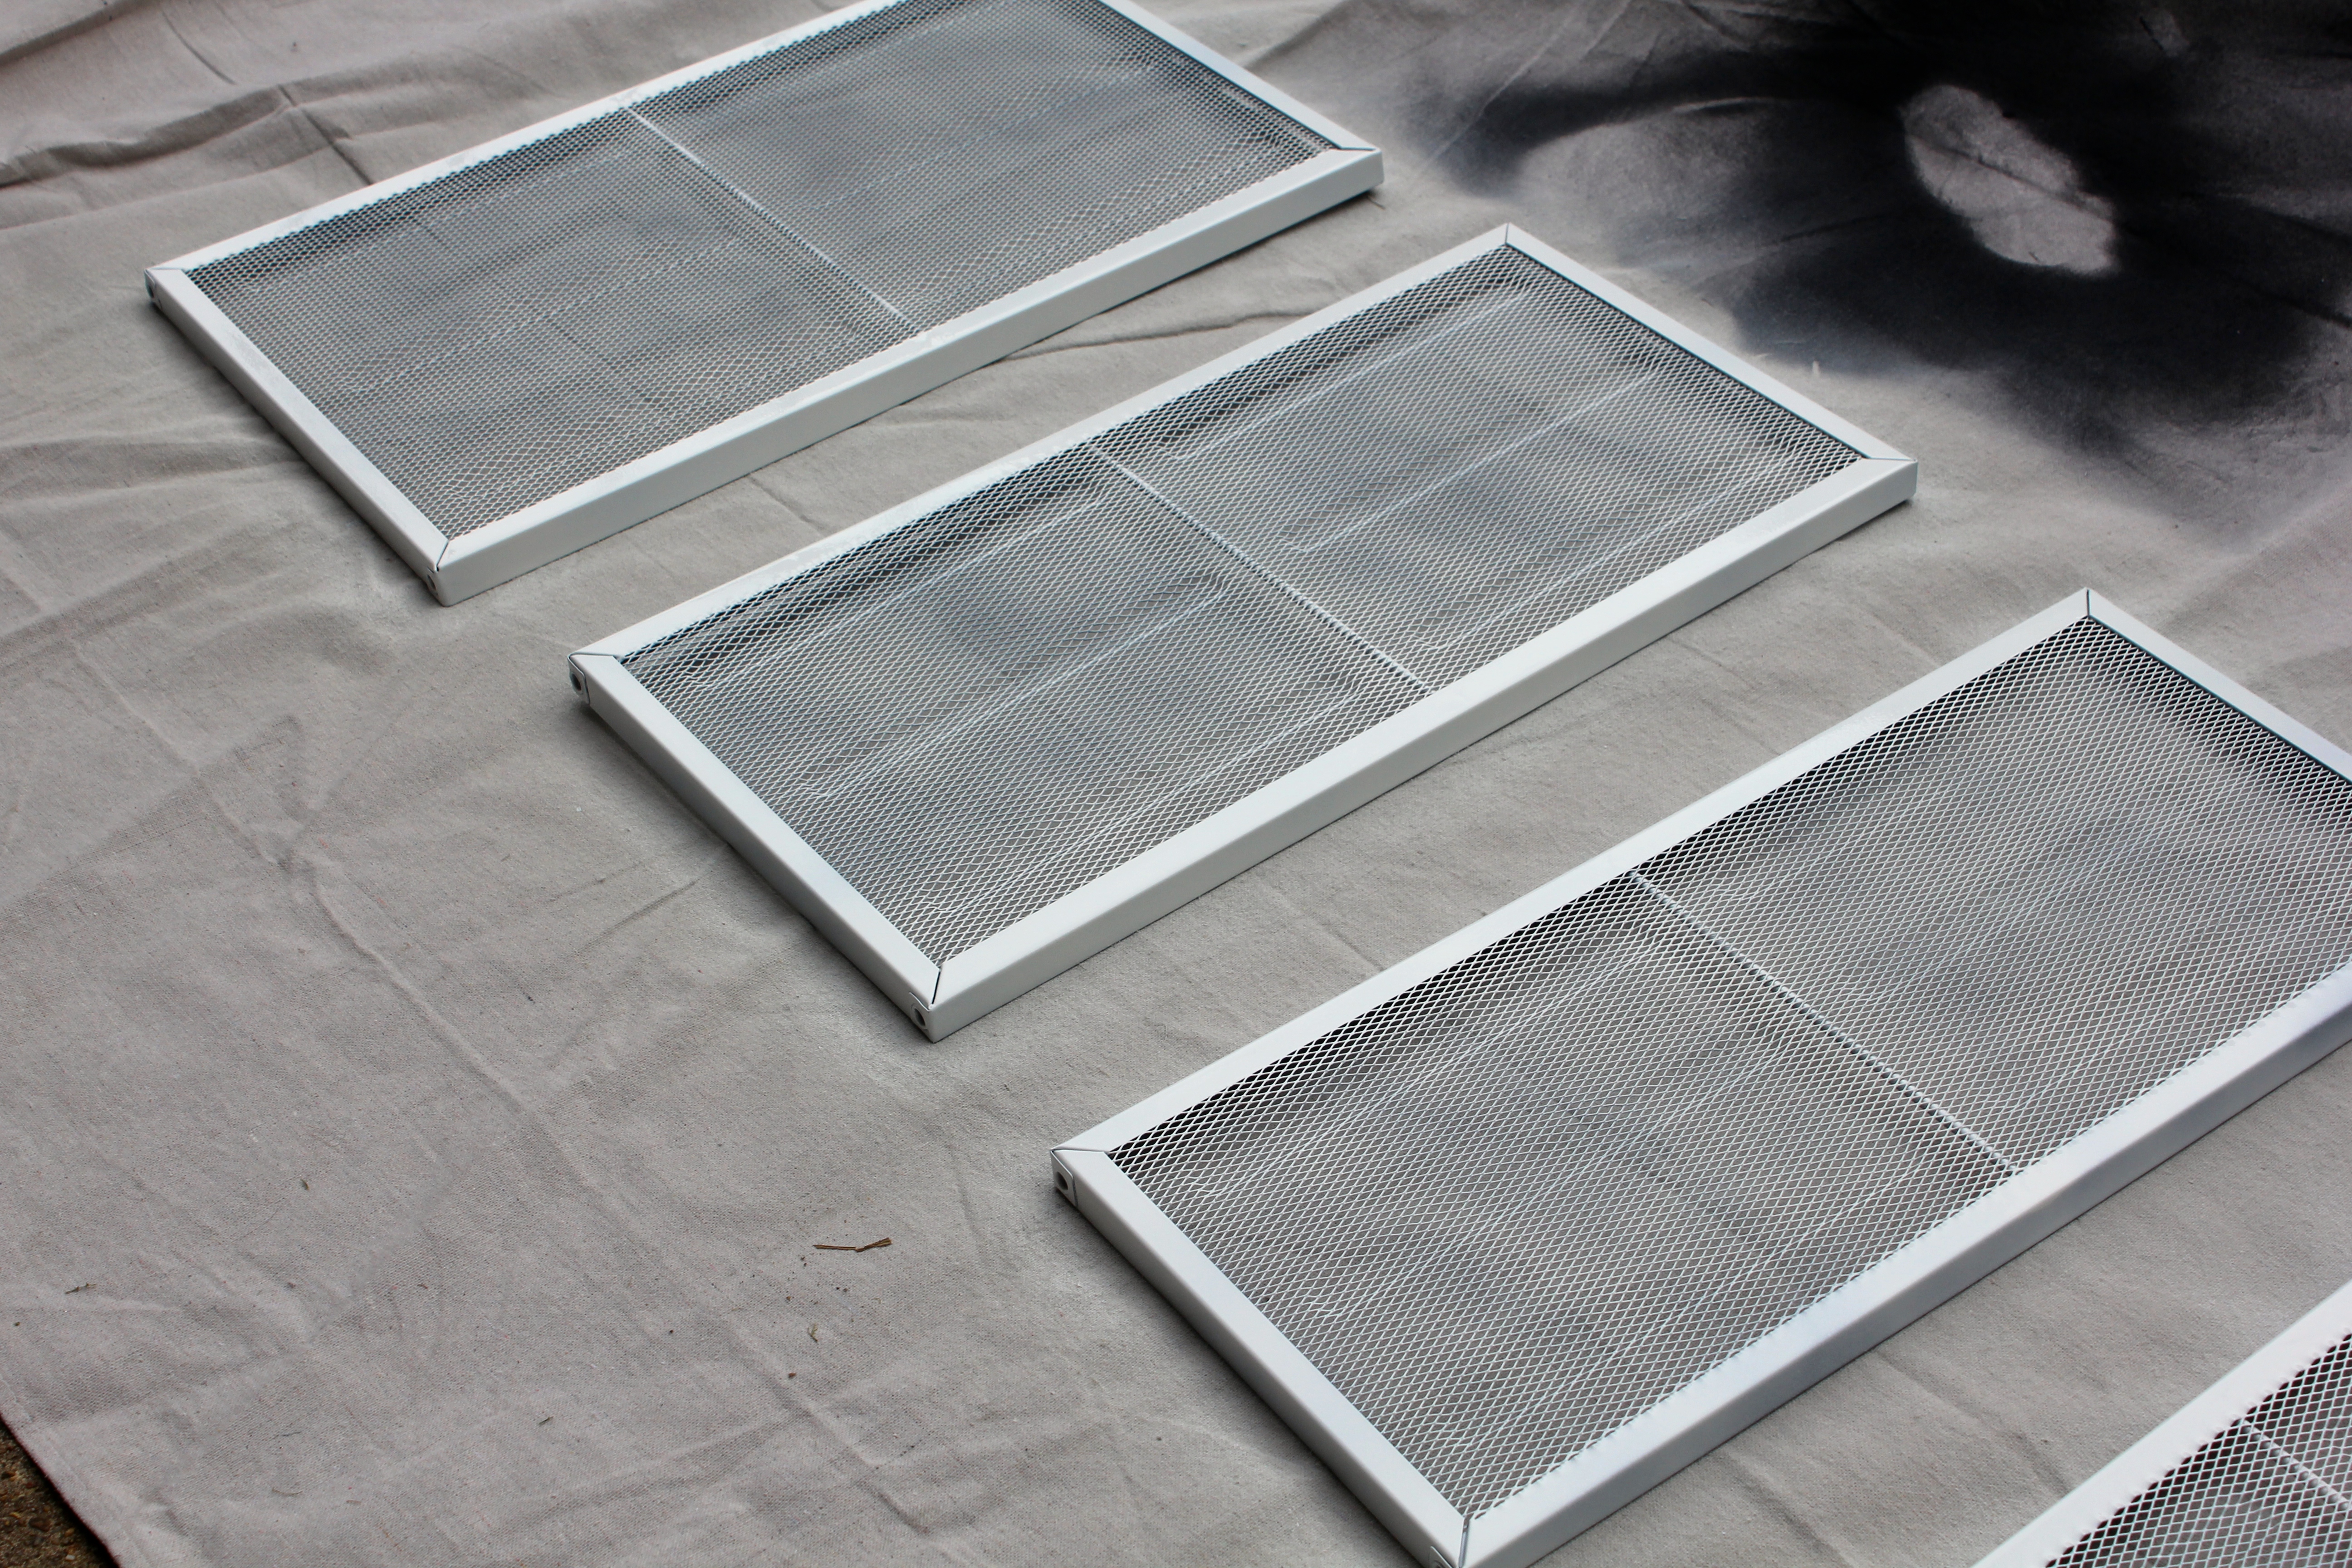
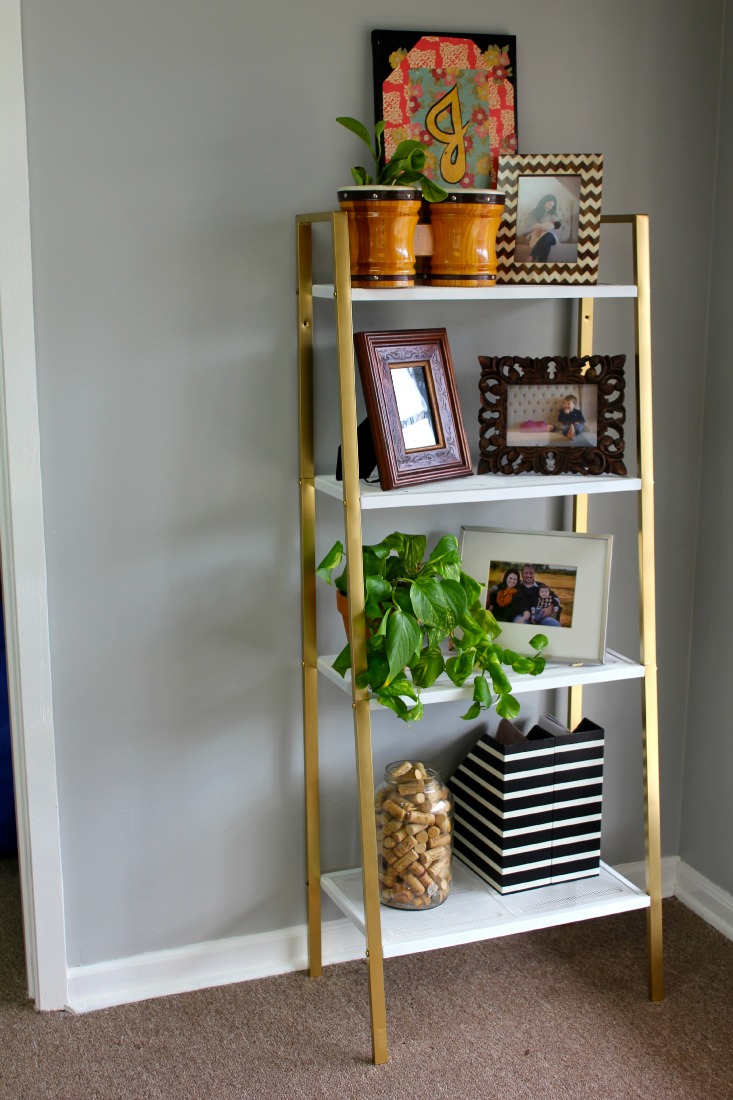
I have been a much happier person since I discovered my love of white and gold.  I have four, yes you heard me FOUR of these grey LERBERG shelves from IKEA.  They are a great lightweight option for your home/office/bathroom, whatever.  I’ve used them in my old studio for years and they made the move to my new Music Therapy clinic. My only problem is, I’m trying to move away from all of the grey and dive into my new found color obsession.  Enter spray paint!  Gold and White!

bookshelf redo

The first step was to take them apart, which is super simple.  All you need is an allen wrench.  Then commence to spraying, making sure to get each side from every angle and let dry.  This is the hardest part – the waiting – I hate the waiting.

gold book shelf


gold book shelfgold and white book shelf
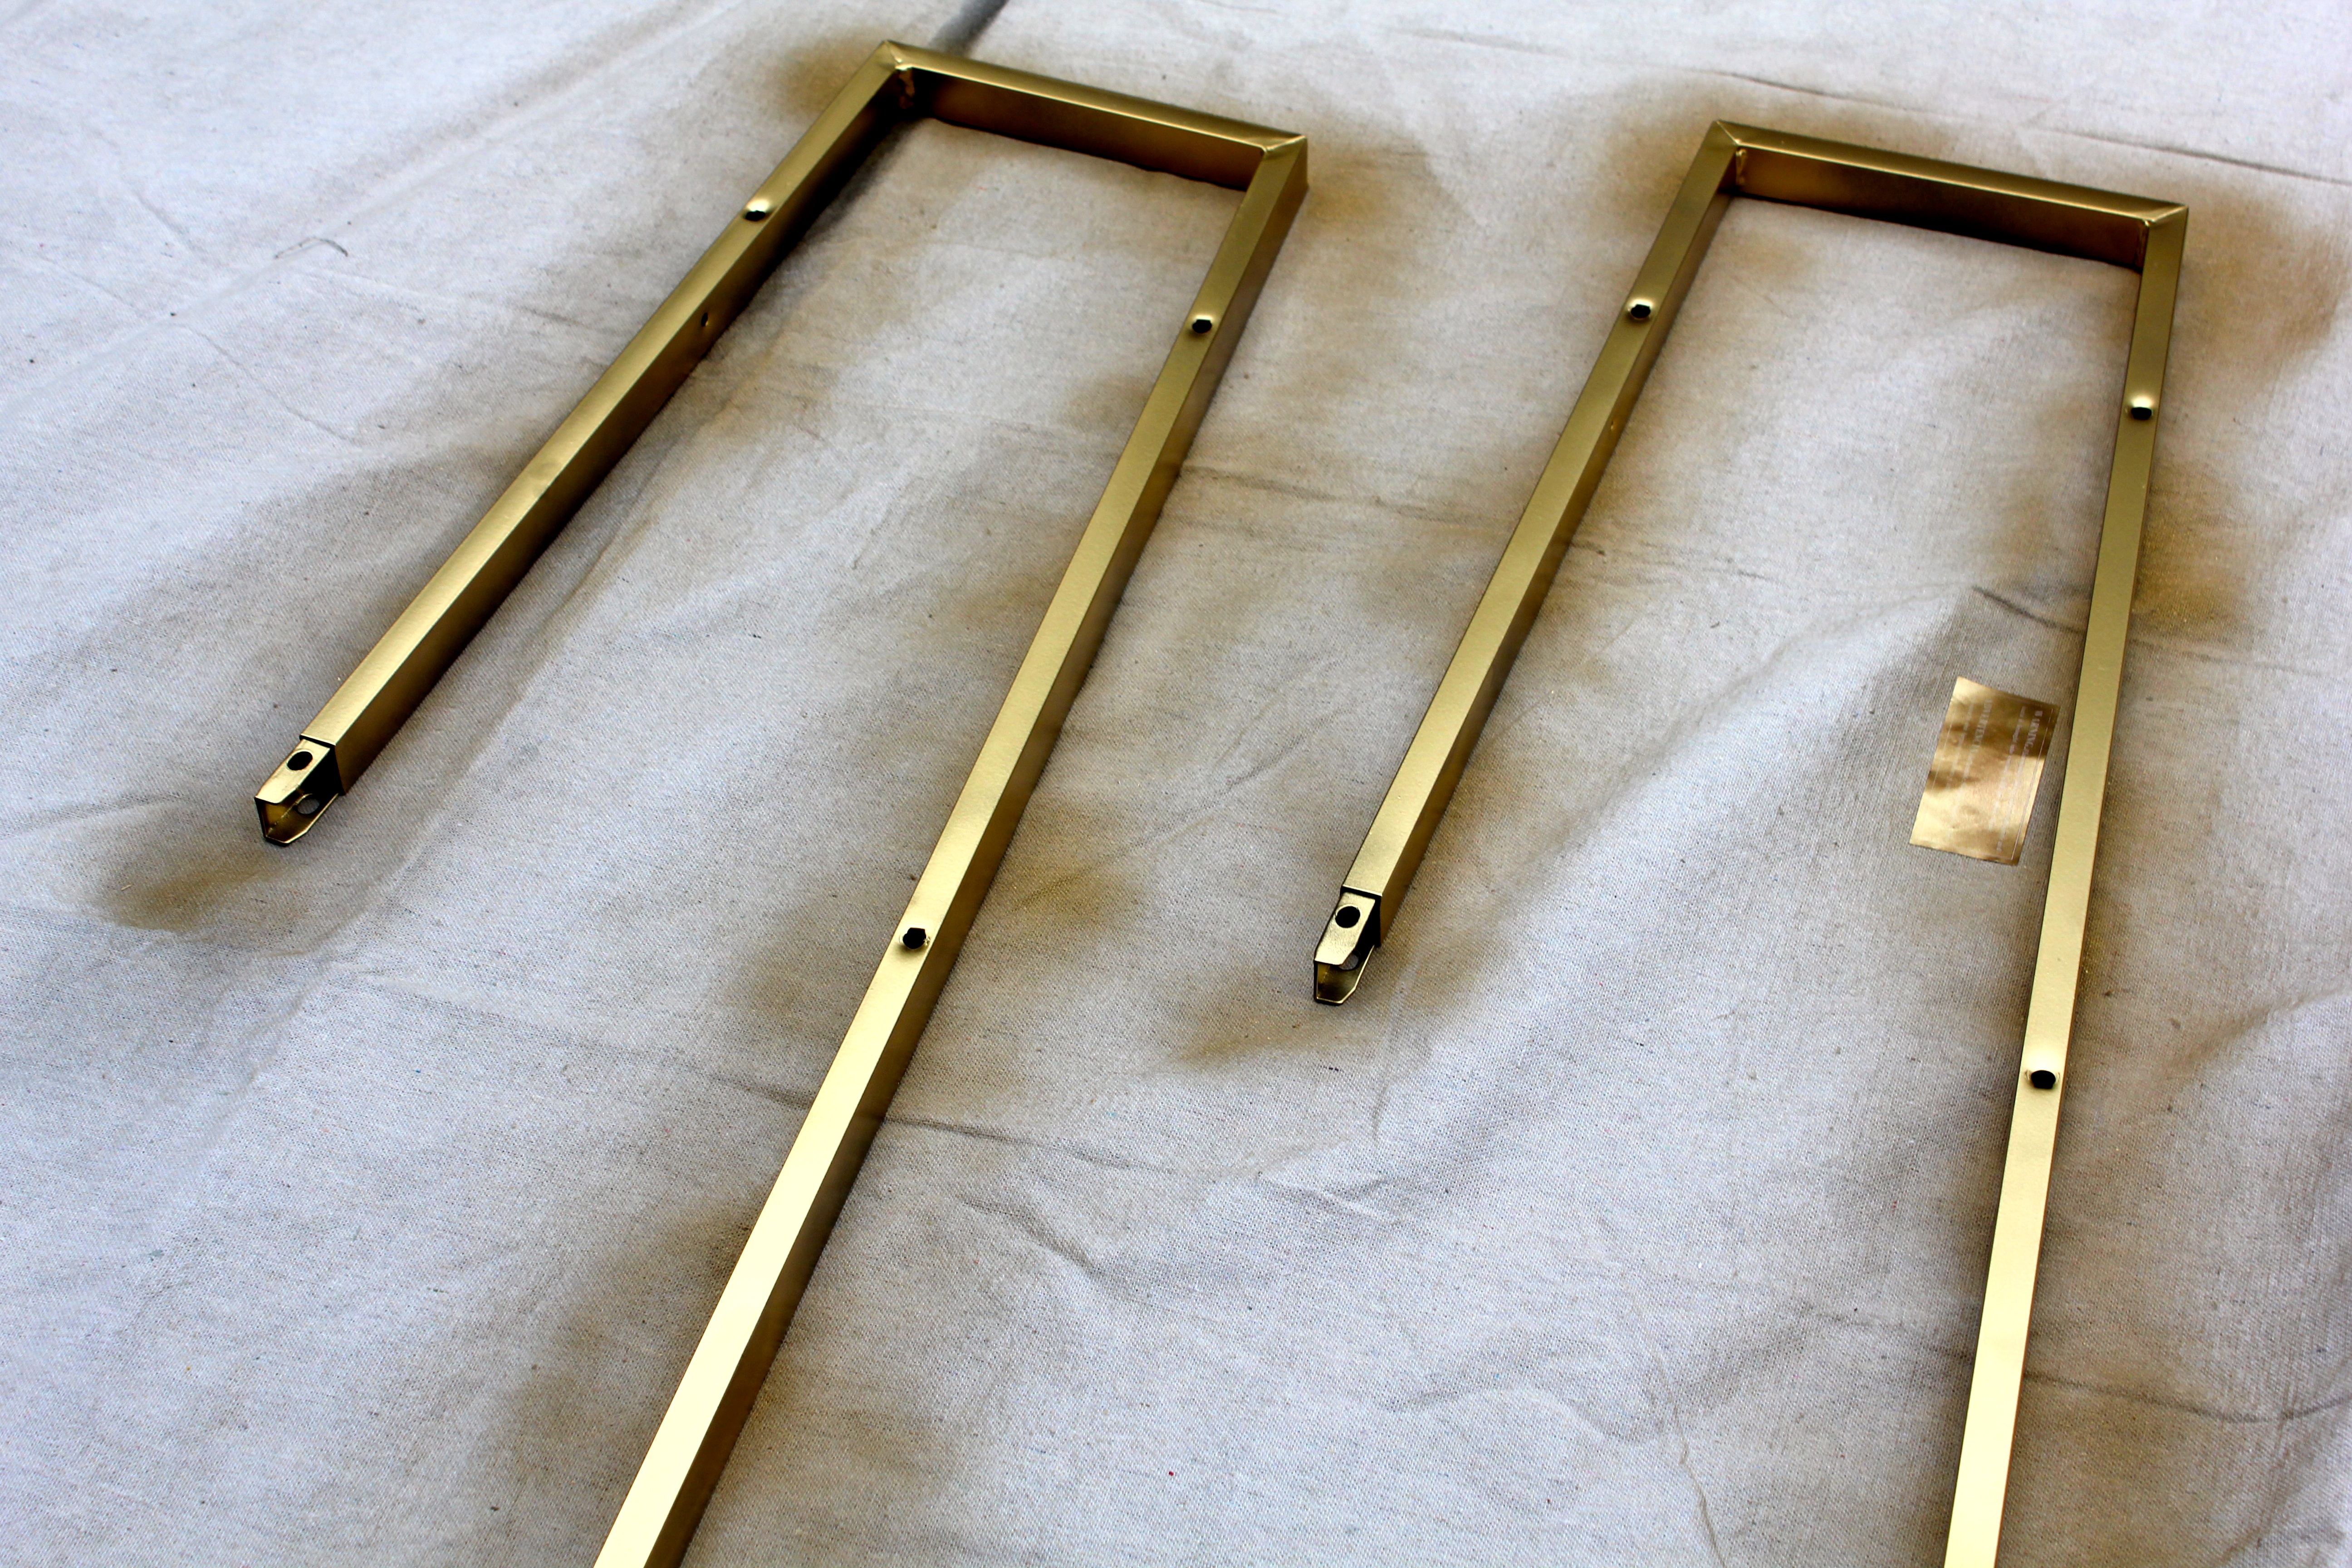
Once the pieces dry, touch up any spots that are not saturated with color and then flip over and paint the other side.  Wait more.  (Do not forget to paint the screws)

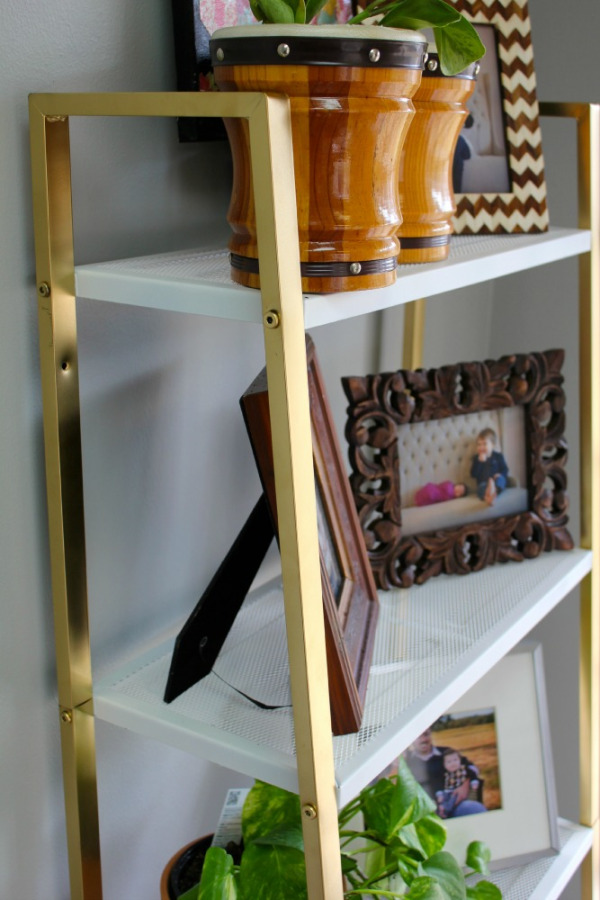
Once everything is dry, re-assemble the pieces and fill the shelves.  ikea hack shelf

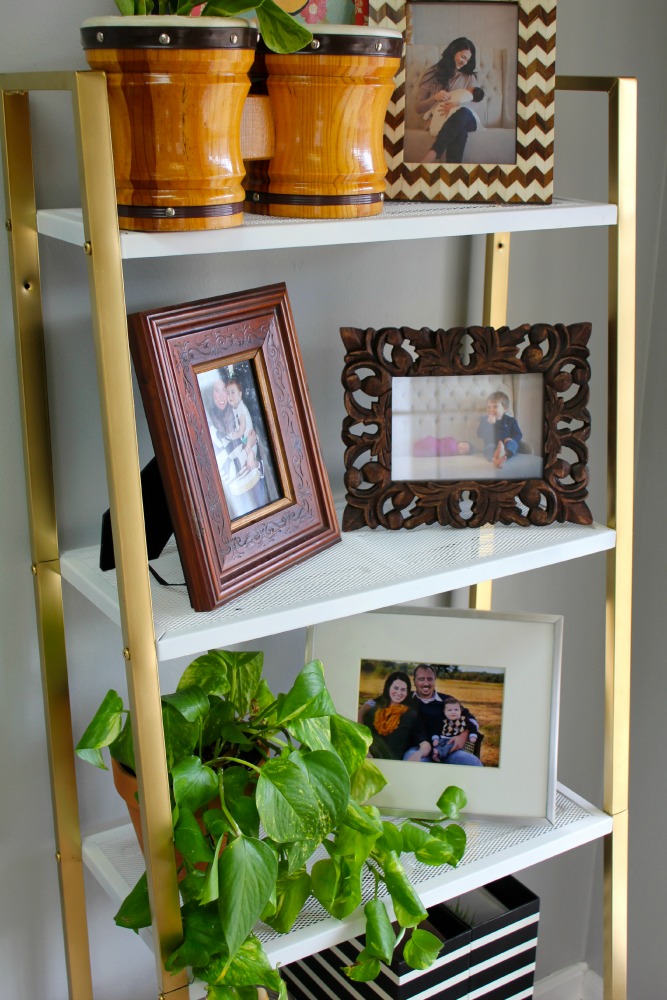
Aah!  Isn’t that better?  It adds such a light airy feeling to the room.  So much brighter!  I love it!  Now, I have to do the same thing to its three brothers.

ikea hack shelfikea shelf hackikea shelf hack   Do you have a piece of furniture that suits your needs but not your style?  Hack that sucker!

Happy Hacking!

Smile big and Sing loud,

Julie


White and Gold…Behind the Times

So, I feel like my entire diy life has been a lie.  My whole life, I’ve been a silver girl, never opting for gold, always silver.  Perhaps subconsciously I thought it made me humble… heck, I don’t know.  What I do know is – I WAS WRONG!  Over the years, gold has found it’s way into my life, creeping in like a stray animal who knew he wasn’t really trusted yet – a gold bangle here/gold stud earrings/I did try my luck at gold leaf once.  But my silver-snob days are over.  I have officially boarded the Gold Express and I feel like an idiot for not doing it sooner. I mean REALLY!  What was my major malfunction?

Gold and white have to be THE classiest combination EVER!  So, I must get more of the two in my life, ASAP.  My immediate plans include a desk lamp, and a book shelf (or three).  Here’s a sneak peek…gold book shelf

Are you biting your fingernails in suspense?

Smile big and Sing loud,

Julie

glittered lamp

Glam it up Lamp

Look at this great little lamp.

lamp

I wonder if I can make it greater.   Paint?  Obviously.  Glitter?  Definitely.  Da da da dum.

lamp

Now isn’t that better?

I started by taking the shade off and removing the bulb.  I then spray painted the base.

While the base was drying, I painted the INSIDE of the shade with Elmer’s school glue and you guessed it – glittered that bad boy.  Two huge globs of glue on my carpet and 962,473,862 pieces of glitter later and BINGO!

IMG_0016res

It gives off such a nice glow.  The glitter shows through the shade a bit, but I’ll have to worry about that another day.

IMG_0013res

Do yourself a favor and buy a bottle of gold glitter.  It even looks pretty on carpet, which is a good thing, because today is not vacuum day.

Smile big and Sing loud!

Julie

ukulele

Uke is Kind. Uke is Smart. Uke is Important.

 This isn’t that cute.

ukulele

But, this is!

ukulele

Lately, my motto is: “If it ain’t cute… let’s paint it!”  I have a serious obsession with ukuleles.  They are fun.  They are adorable.  They are extremely portable.  And you can’t tell me that when you see a ukulele comin’ your way you don’t either break out in a smile or a song.  So, I guess you could say we are a perfect match.  I recently purchased a few ukes for my Music Therapy clinic. A couple were absolutely precious and one was about the saddest thing I had ever seen.  And we couldn’t have that. So… you guessed it.  I painted it!  Why not, right?  It is my motto.

I started by removing the strings and tuning pegs.  It might seem scary, but its not – just do it.  (Take a picture first, and maybe label the strings.)  Then, I gave the thing a good sanding.  To be honest, it wasn’t very smooth to begin with, especially on the neck.  Three coats is all it took of my favorite turquoise paint to turn its frown upside down.  Don’t forget to sand after each coat.  (O.k., I forgot to sand between the first two coats, but I did it after that.)

ukulele
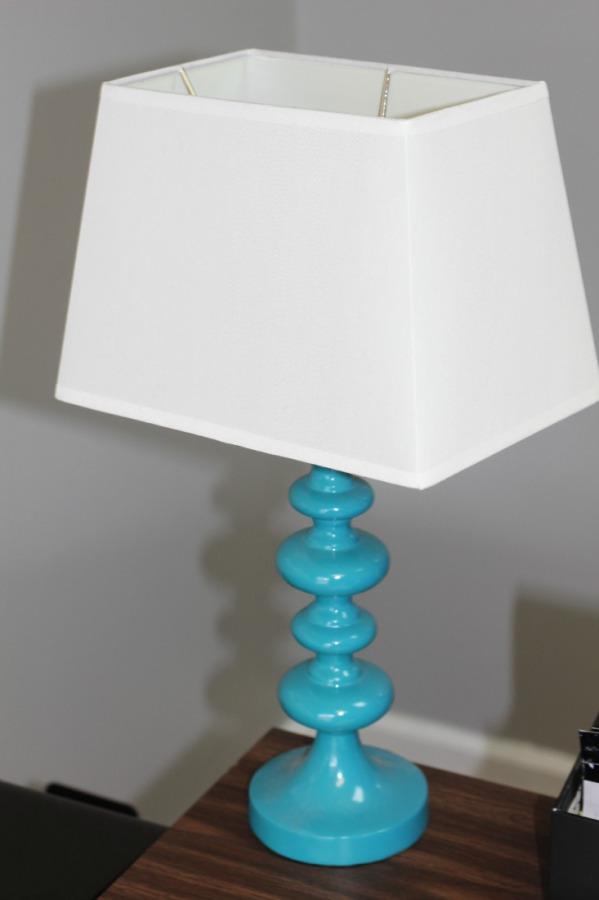
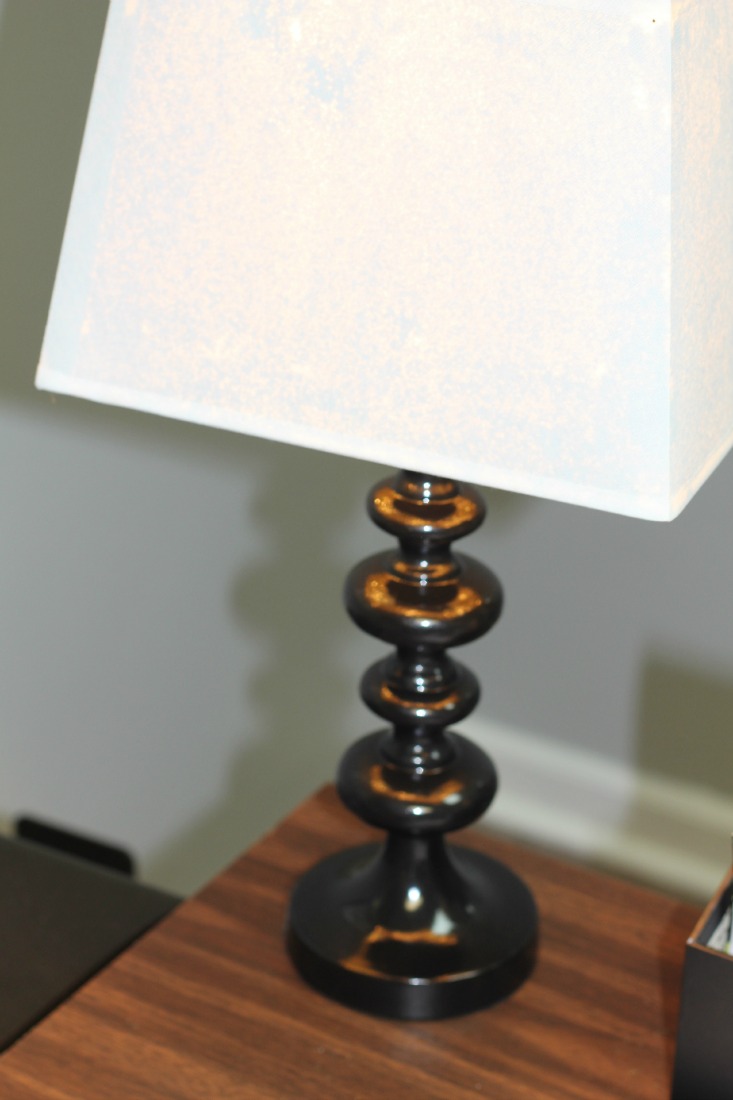
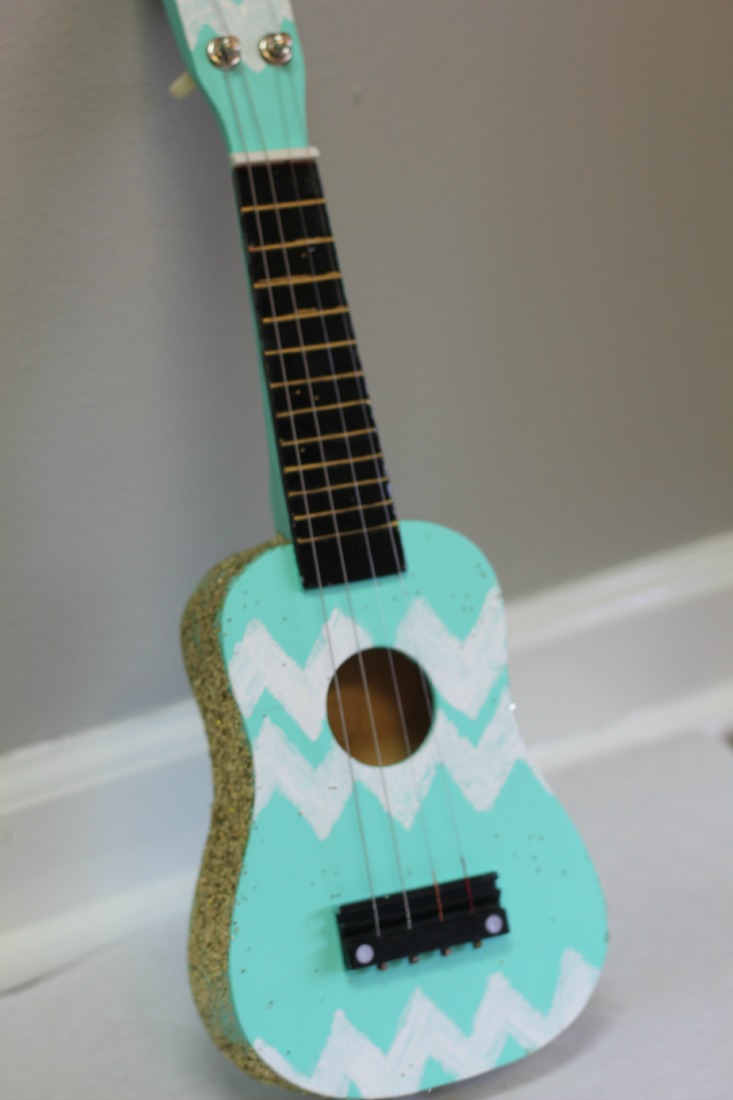
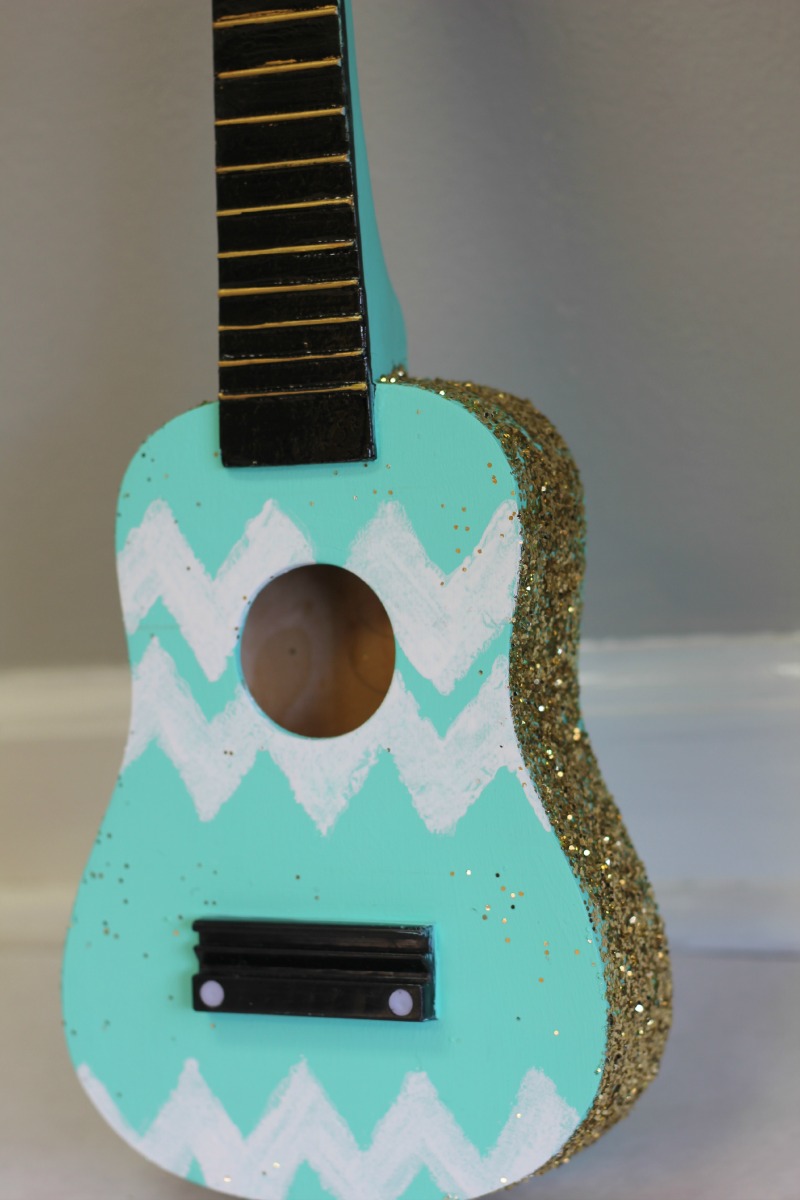
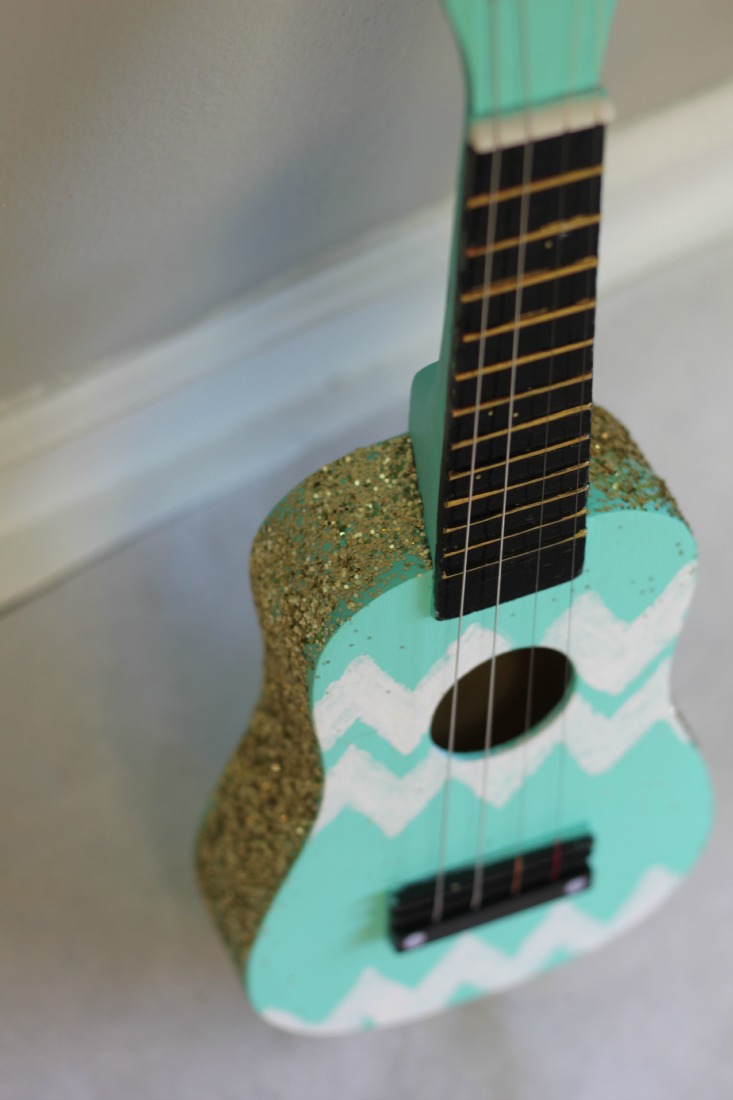
Then, it was time to bedazzle!

I painted the sides with Elmer’s school glue and sprinkled gold glitter all over it. It’s definitely not perfect, but the only thing worse than an ugly ukulele is a perfectly glittered one.  How pretentious!  And of course, I do realize that the glitter will eventually fall off.  But, I kind of love the idea that it will leave a little glitter everywhere it goes.  (If you want a less messy version, simply glue sequined trim around the side.  I debated using this method, but I already had the glitter on hand.)

glittered ukulele

Once everything was dry, I used a stencil to apply the white zig zags.   Along the way, I did a touch up on the turquoise and a few pieces of glitter got on the top.  I kind of liked it, so I left them there.

zig zag ukulele

All I had left was to reattach the strings and tuning pegs.  And play a diddy, of course.  I’m wondering how I’m going to be able to get anything done with this precious little nugget staring at me, begging to be played.

ukulele

ukulele

I hope you paint your own ukulele for your littles, or for you. No home is complete without a ukulele.  It would also make a great personalized Christmas gift for any age.  If you’re not gifting a live puppy, a ukulele is probably number two on their list.

Happy playing!

Smile big and Sing loud!

Julie